
Tracing Techniques Calligraphy (Corel Draw Tutorial)

Ramadan special tutorial, should say so. Still in shades of the blessed month, in Coreldraw tutorial this time I will share how tracing in coreldraw. This time I will do the tracing object calligraphy Word Allah in URDU Arabic
Before we get started, probably no one yet knows what the "Tracing". Tracing is a technique of copying / cheating object of bitmaps to convert it into vector graphics. By changing a vector then we can to editing even enlarge an image of any size will not be broken.
Tracing Technique Calligraphy tutorials
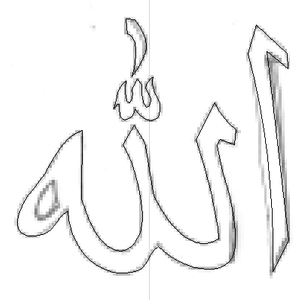
- Please make graffition paper. Then, the next scan and open with the scan results coreldraw. If you do not have a scanner to use HP Digital Camera and camera to take a picture and insert it into your computer /laptop and open it in CorelDraw.
I deliberately made too simple calligraphy, with the goal of easy to follow, we can beautify in coreldraw.
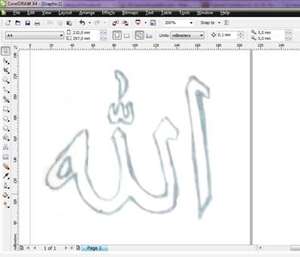
Picture: Scan Results
- Change view to Wireframemode, to obtain views / vision more clearly.
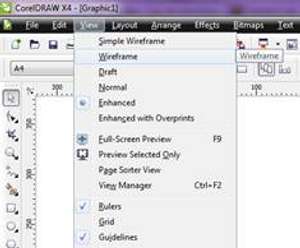
Picture: Wireframe mode
- Imitate these images(tracing) with the Pen Tool. Click the Pen too lin the tool box
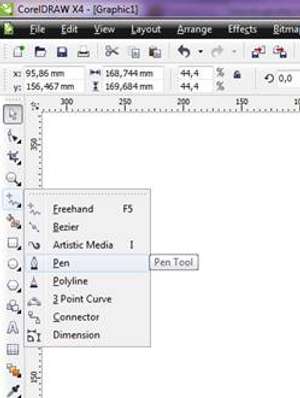
Start tracing, I began tracing the letters alif
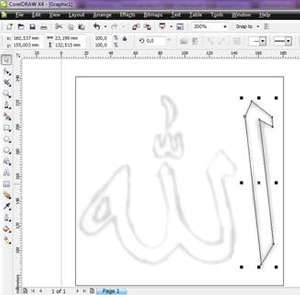
Picture: Tracing the letter Alif
Ok, I want the letters slightly curved, how to enter into Shape Mode by pressing the F10 key. Right-click on the part you want is curved and select "To Curve"
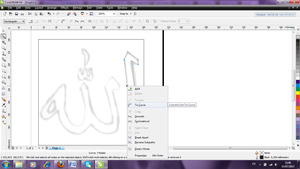
Picture: To Curve node
Hold left click and drag to the right, see arrows
Picture: Camber object
- In the same way, the next object tracing with the pen tool.

Picture: Tracing
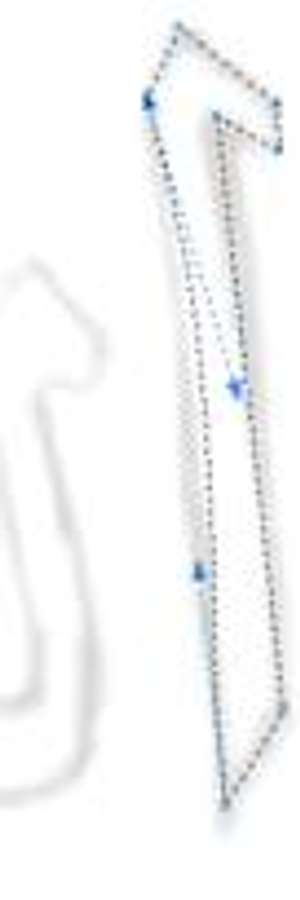
Well, now get into shape tool (F 10) again and add nodes in the middle of the black arrows. Arrange bazier handle up and down arrows with press the right click right on the blue arrow and dragging / sliding match the image.
Picture: Bazier Handle
So that the results can be curved as in our graffiti images.
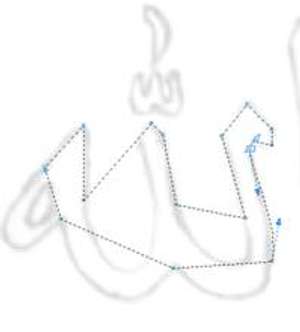
Do the same technique on the other. Use the mouse scrol to zoom in and zoom out to simplify your work.
Picture: Tracing the second object
Ok now tracing the third object, and fourth. Completed.
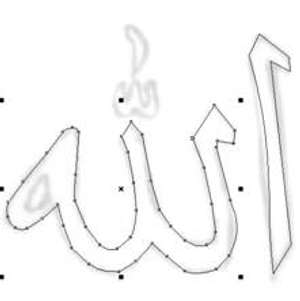
Picture: Tracing Results
Once completed it is time to leave Wireframe mode, in Enhanced mode to restore to the initial mode corel.
Move the graffiti images that we are tracing results not covered anymore by the images, results are more or less like this:
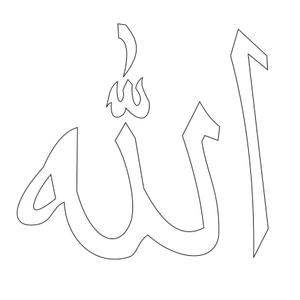
Picture: Tracing Results Calligraphy (in modes: Enhanced)
Now we can add the results of tracing and background colors as well as we enlarge the images we create vector-based so it will not break. Benefits for tracing could even broke the color that will be applied to the screen printing process.
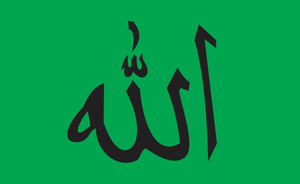
Picture: tracing results with the addition of black and green background
Ok, After mastering the techniques above please try tracing the image below to expedite your Corel tracing technique ...
Picture: tracing exercise Word Muhammad S.A.W.W


Comments